
Madarao and Japan have become famous for untracked powder and getting into the backcountry extends the terrain you can play in to extreme levels. If you stand on top of Mount Madarao and look around the 360 degree view you will see more runs, chutes, volcanoes and tree runs than you would be able to ride in a lifetime of exploration. Admittedly our region is particularly rich with perfect pitched mountains and is blessed with insane amounts of snow but still all over Japan there are backcountry delights and exploring them is mind blowingly fun.
To get into the wilderness requires gear and knowledge if you want to be safe because even though temperatures in Japan are relatively stable compared with Europe and North America avalanches still do happen. Here is a rundown on what you simply can't travel without and a few of the very nice to haves as well.
The absolute bare minimum is a beacon, shovel, probe, a pack and avalanche training.
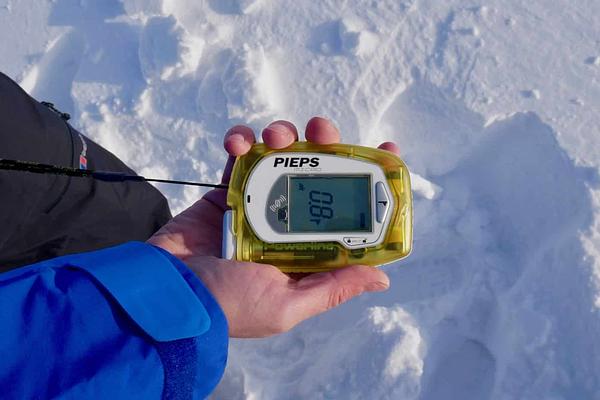
An avalanche beacon is probably the single most important piece of kit you can have with you. If you get stuck in an avalanche without one and are buried your chances of survival are extremely low and if your friend is buried and you don't have one rescuing them is very unlikely.
These devices are simple but genius. They can essentially do two things... send and receive a signal. You pop it on under your outer layer before you leave your accommodation and leave it switched on in transmitting mode all day. The beacon sends out a signal that can be received by all other avalanche beacons (the frequency is standardised). If you are buried in an avalanche the rescuers switch their beacons from transmit to receive and can then locate you even if you are completely buried by snow.
Modern beacons are really easy to use which is great because if you ever need one in anger it is an extremely stressful situation. When you turn the beacon on it will tell you how far you are from the person who is buried and in which direction you need to move towards them. Not all beacons are created equal but they essentially do exactly the same thing. A buried person can be found in minutes instead of hours which can very definitely save lives.
When an avalanche is set off it creates a lot of friction. This very slightly melts the particles of snow and when it all comes to a stop it instantly re-freezes which makes it impossible to dig yourself out of an avalanche especially if you are completely submerged. To make matters worse because you breathe out warm moist air it freezes onto the snow around your face and creates a seal from the oxygen around you. That is how you suffocate in an avalanche even though there is loads of air in snow even after an avalanche. It is more or less like putting a bag over your head. Depending on conditions it can take as little as 8-10 minutes for this to happen so it really matters if you have an avalanche beacon on.
The Stats are a bit scary when it comes to burial time vs mortality… Studies done in Europe found that survival rates for people buried for just 30 minutes was as low as 35% (https://utahavalanchecenter.org/education/faq). Japan’s snowpack is a little different to Europe so the timing won’t be exactly the same but the main factors are the same so it will be really similar. In other words finding a person caught in an avalanche in the shortest possible time is the key to the best outcome.
We use two different beacons and have been super happy with both…
The Pieps MICRO BT Button & MICRO BT Sensor are for sure the best ultra light transceivers. They are tiny, super lightweight and also really easy to use. They are a little more expensive than their bigger counterparts but they are so convenient they are our preference for side country and in resort riding at Madarao. The difference between the button and sensor version is the switch between transmit and send. The button is like other beacons. You need to press the button to swap it from one mode to the other whereas the sensor automatically switches to receive when it is taken out of the cradle and back into transmit when replaced.
A few key points - Always make sure batteries are at full charge every morning. Make sure you test the beacons when you first turn them on to ensure everyone in the group has a functional beacon. When you pass through the backcountry gate check everyone's beacons again. There is no substitute for knowledge so do an avalanche certification to make sure you can assess the conditions to reduce your risk as the danger level can change in just a few minutes and if you don’t know the science you may not realise you have crossed into epically dangerous terrain.
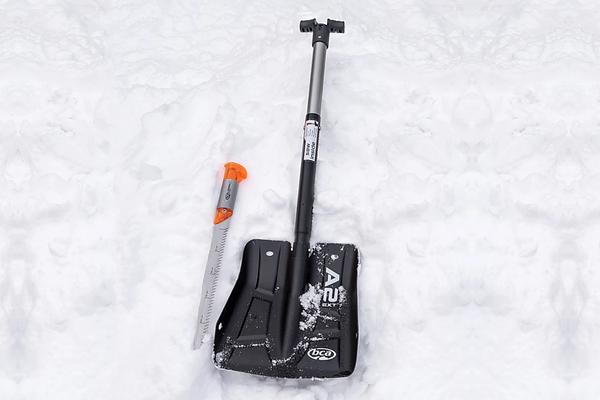
We have put shovel and probe together because you need them both to supplement the beacon...
Having a good strong lightweight shovel is critical to being able to dig out a friend who has been buried by an avalanche. Once you have found your friend under the snow it is imperative you get air to them as soon as possible and this means digging like a demon. The idea here is that no time is wasted to reduce the risk of injury from a lack of oxygen. Because an avalanche field sets hard it is pretty well impossible to dig someone out quickly without a shovel. People are shocked by how rock hard a powdery slope can become once it has avalanched. You won't be able to dig it with your hands and with skis or a snowboard will be very slow going.
Our favourite shovel is the A-2 EXT Avalanche Shovel System With Saw. It is light, crazy strong, has a really nice sharp shovel blade and comes with a snow saw in the handle. Once you have done your avy course you will learn how to dig a snow pit and to do that it is much easier with a snow saw.
A probe is also an essential piece of kit because it can drastically reduce the time to find a buried person with a beacon and is pretty much the only way to find a buried person who doesn't have a beacon. In Japan we always recommend the 300mm ones because the snow fall is so huge that if a slope does slide there is a higher chance of deep burials. We love the Pieps Aluminium series. They are light, strong and very simple. A probe is very similar to a modern aluminium tent pole that is dead straight. They normally have an abrasion resistant nylon rope through the centre (or sometimes wire) that you pull through and lock into place to make it stiff.
Once you have located the closest point the beacon can flag you then probe the snow to find exactly where the person is buried. Because of the way the beacon signal radiates if the burial is deep you could potentially think you are right above the person but you may actually be a meter or more away. You never want to spend time digging if you aren't in exactly the right spot as it can significantly extend the time to recovery and could be the difference between serious injury and a succesful rescue.
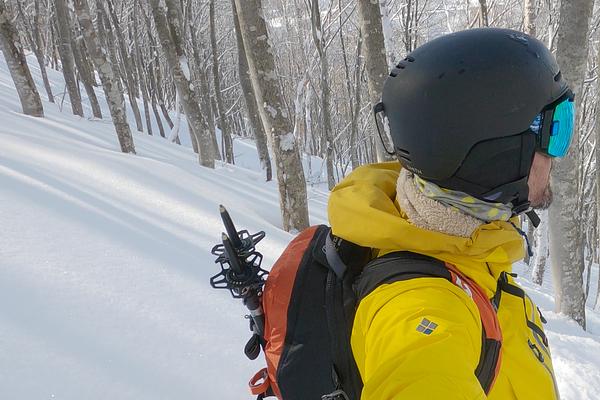
One way or another you are going to need a pack to carry your shovel and probe plus snacks, warm clothes for when you stop moving, water, spare gloves, spare goggles and other extra bits dependent on how far from teh resort boundaries you are going.
Essentially you have two choices... A standard pack or one with an avalanche airbag. Whatever you do make sure the pack has an excellent harness so it is comfortable on the uphill missions. Carrying an uncomfortable pack is no fun. You definitely want one that doesn't restrict your movement and you also probably want the smallest one you can get away with to save on weight. It is definitely more fun riding down with a light small pack than a beast strapped to your back but there are of course tradeoffs.
Avalanche airbag packs really do save lives so we always recommend them. The initial purchase price is high compared to a normal pack but it is the gift that keeps on giving. There are two general types of avy pack which is really about how the system inflates the airbag. Cartridge or electric.
Cartridge systems are light and are cheaper to buy which is great but they have serious drawbacks in Japan. Every time you deploy a cartridge pack it will cost you about ¥5,000 ($70) to refill the cartridge. The cost of this quickly adds up and means you are basically never going to practice with the pack making it much less likely you will get deployment right when you really need it. Unless you carry spare cartridges (which means you lose the weight advantage) you can't re-use the pack once you have been in an avalanche so if another slope goes when you are on your way home you have no protection. Cartridge packs have another big drawback. You can't take charged cartridges on airplanes. This is really annoying for travellers who want to get to Japan or travel domestically by plane. Finding a filling station is also nigh on impossible and will require long trips away from most ski resorts. For these reasons for Japan we don't recommend cartridge packs at all.
Electric systems are altogether more flexible, convenient and we believe safer because you can practice to your hearts content so when you do need to deploy the bag it will be second nature. There have been huge steps forward since the first iterations namely the move from a battery to a capacitor. There are still some advantages of battery power rather than capacitor so we will go over both here...
Battery Power
Black Diamond and Pieps burst into the avy pack market with the amazing ground breaking Jetforce series of packs. Basically a super powerful lithium ion batter was connected to a big fan that when deployed could inflate an airbag in a few seconds. The great thing about the battery powered Jetforce system is that the bag could be reinflated intermittently while the avalanche was still in progress so that if it was torn it would pretty well stay inflated. Yep that motor can keep a bag with a hole inflated. Amazing. The other great thing is that with the Jetforce system on just one charge you have up to four full deploy cycles so if you are caught in an avalanche you can still be safe when you are travelling home.
There is one main drawback of the battery powered systems and that is that they are pretty heavy. We spent a couple of seasons riding with these packs every day (even in resort) and they are fine but you do definitely notice the heft of the bag on your back.
Capacitor Power
Swiss company Alp-Ride released the capacitor powered avalanche pack which is the best thing since sliced bread for season 2019/20. A capacitor is sort of like a battery but it is designed to release all its power in one hit. This makes it a perfect tool to inflate an airbag. Capacitors are really small, really light and can be rapidly recharged. They also kind of never really wear out and can be recharged thousands of times without causing significant efficiency loss. Even though you don't get the reinflation during avalanche feature we far prefer the capacitor avy bag as an option. The whole kit is significantly lighter than a battery powered bag and the electrical component is far more durable. It leaves a lot more room in the pack for storage of gear and is operational at colder temperatures than lithium ion batteries.
The pack is better for multi day trips because it can be easily re-charged in the field where the Jetforce packs can't. With just a couple of AA batteries or a little external battery pack these things can be recharged in the field in just 20-40 minutes so you have re-deploy options for travel out of the avalanche terrain.
Scott makes our favourite Alp-Ride bag although the Black Diamond one is excellent as well. There are three size options with the Scott packs... the Patrol E1 22L, Patrol E1 30L, Patrol E1 40L. We have them all. The 22 is perfect for resort cruising. Enough room for your shovel, probe and a snack and when you do go off piste in resort you have the comfort of knowing you have avy bag protection on your back. The only avalanche we set off last season was in the resort boundaries in the Ninja area at Madarao. It was about 30 meters wide and ran for about 100 meters. Luckily it was pretty shallow but any bigger than this and it could easily have injured a skier or boarder. We prefer the 40L to the 30L because it has a better harness system and once you are carrying a 30L pack it can easily be heavy enough to warrant the better harness. That said it is marginally heavier so we lashed out for the flexibility of the 30L pack as well.
The fantastic thing about the Scott system is that the airbag, capacitor and fan component is removable so you can buy one kit with the pack and electrics and the two other packs and have your cake and eat it too.
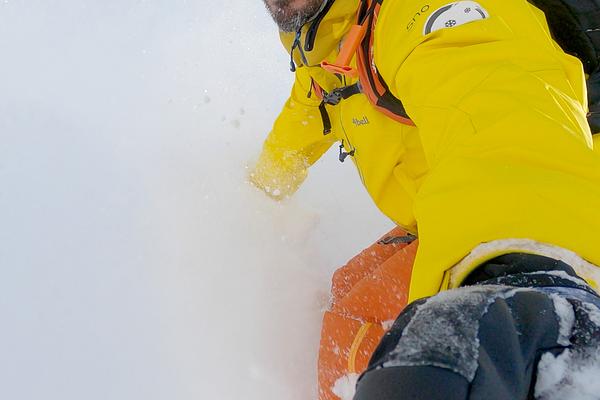
You should really never think about going BC without two really good pairs of gloves. It is just one of those things (like goggles) that if something goes wrong you can't be happy without a spare pair.
We have a few a really important criteria we judge all gloves by...
Must have a long cuff - There is no point in having waterproof toasty warm gloves that don't have a long cuff. You will definitely get snow inside them which will melt and keep you cold when you are back country. When you dig an avalanche pit to check snow conditions you need to make sure your gear is up to scratch and that means gloves gotta be bomb proof.
Must be toasty warm - Japan temps normally hover between -1°C to -20°C. It gets cold enough that you definitely need nice warm gloves. We really like to have two options. Full five fingered gloves and a pair of 3 finger gloves.
Waterproof - This goes without saying. It is no fun having wet freezing hands. It is also dangerous if you end up with wet gloves and increases the risk of frostbite. Being in the back country isn't like resort skiing. You can't nip into a restaurant and dry your gloves and warm up your hands. Once your gloves are wet it is very hard to come back from that.
Glove care - Make sure you look after your gloves. For leather ones keep the leather greased with Nikwax or similar. It will extend the life of the gloves by years and will mean even the wettest days won't make you sad. Be careful in the drying room. Don't let them burn on the heater. It is a quick way to completely ruin them.
We love...
Burton [ak] GORE‑TEX Guide Glove. It is an excellent 5 fingered glove that meets all the criteria above. You can also wear an extra liner for those very chilly days. For our three fingered option we have been really happy with Hestra Leather Fall Line - 3 Finger gloves.
It isn't really gear but you gotta be prepared to eat. Otherwise grumpiness ensues and a hungry caterpillar is a cold caterpillar. Backcountry eating is really a big post by itself because we could add recipes and yummy options but here is a really brief overview for day trips.
For very short trips we just eat the usual suspects. Chocolate cookies are the go-to but we have also been known to munch on onigiri (Japanese rice triangles stuffed with various deliciousness), Kit Kat, Melty Kisses or the super yummy Meiji chocolate coated almonds.
If you are sliding for long day trips you gotta make sure you have light but high density energy food. Low GI is key here. You definitely don't want it burning off in minutes so delicious onigiri probably isn't the best option. Make sure you start off with the very nutty home made muesli from Snowball Chalet. It is a perfect starter before you head out into the backcountry. Dried nuts and sambo's with Snowball Chalet's homemade rye sourdough with a good thick spread of peanut butter is pretty well perfect to keep you going food for lunch. You can definitely also grab a banana on your way out the door but make sure it doesn't get squished. Backpacks and bananas are a very bad combo.
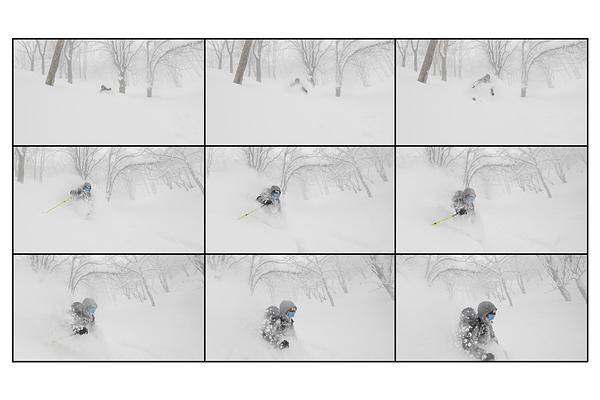
Accessing backcountry areas is so much easier if you have the right gear. Granted there are a lot of places you can go in Madarao that are out of the resort without skins, touring skis or a split board but even the most accessible places are really hard to get out of if you have the odd misfortune of being first. The backside run takes just under 2 hours to hike out of if you have to break trail without a splitty or touring skis. With touring gear it takes about 15 minutes. If you are 10th through it takes about 5 minutes without touring gear. The difference is huge.
In the back bowls of Madarao there is so much exploring to do and so many lines you just can't drop without touring gear it is totally worth having gear with you. That said if you are only visiting for a week there is far more inbounds lift accessed terrain to keep you interested than you can cover in a week. If you are keen to get into the wilderness though you gotta have the gear.
See our article on split boarding for more details.